Thanks for visiting this page! If you are looking for Ars Fantasio Coupon Codes, Patreon supporters receive 15% off of anything over at fantasio.shop.
---
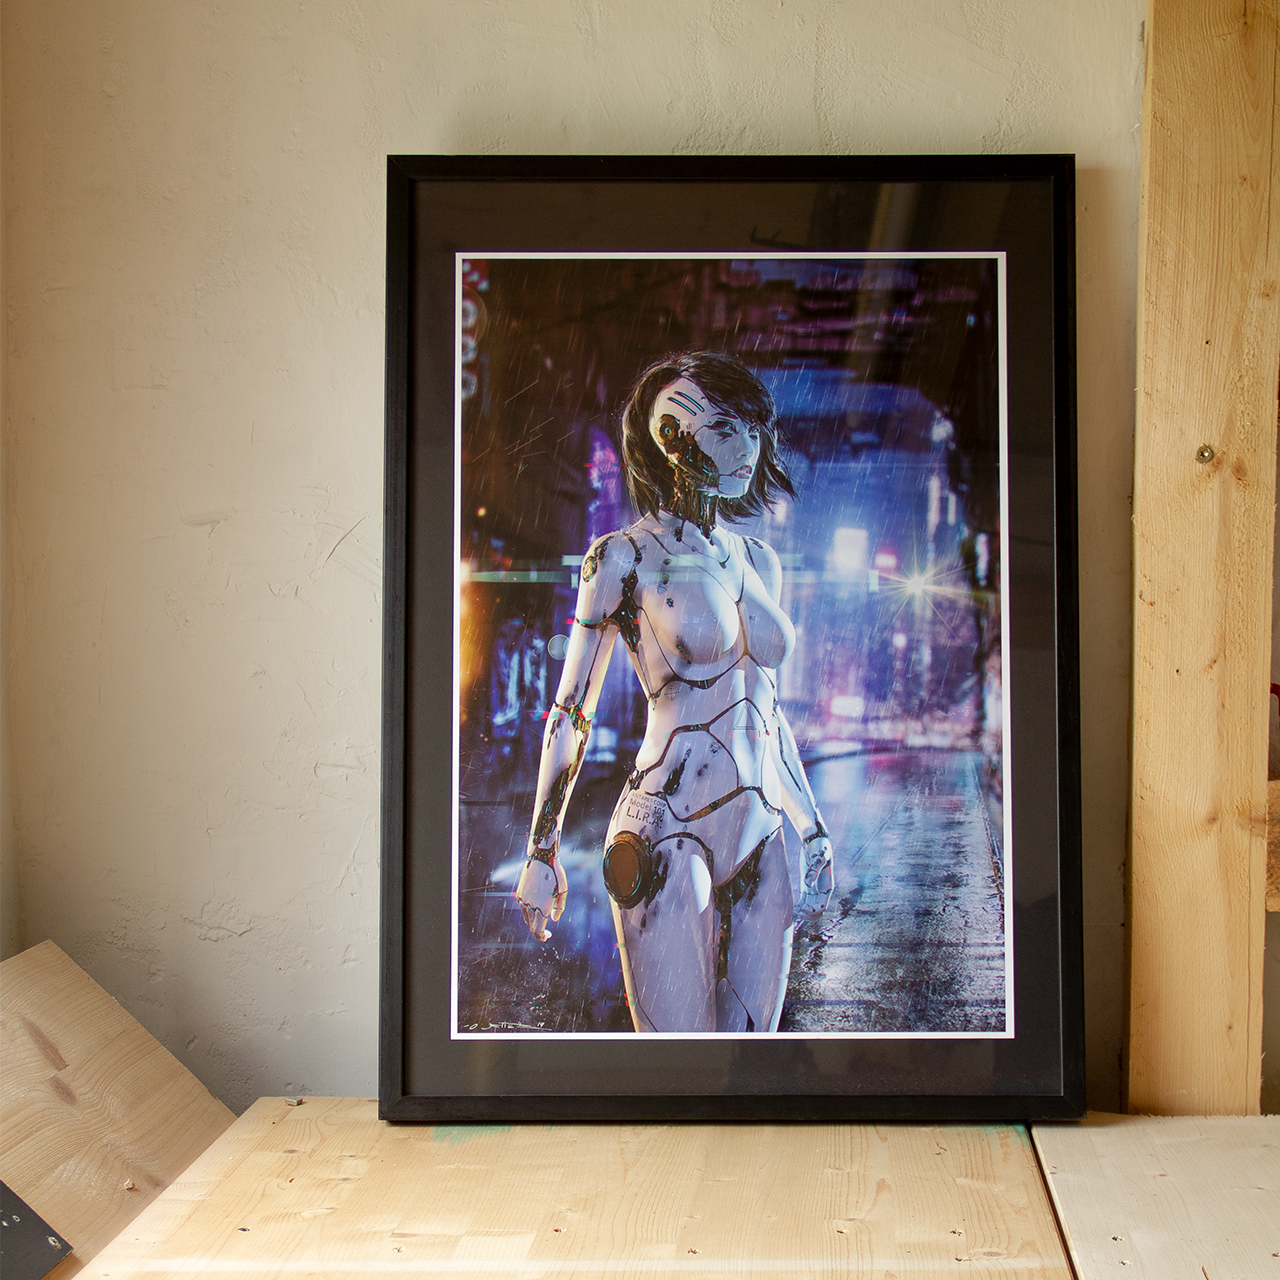
Today I devote myself to a topic that is long overdue - especially since a large part of the products in the shop are prints on paper. I will show you how you can frame your new picture, quickly and professionally. In addition, I'll show you an alternative if you don't trust the first method.
The known issue:
You have ordered your new print and it has arrived, but what's next?
We are out of the age to attach "posters" to the wall with thumbtacks, so there is not much left but to dig deep into your pocket and leave your new favorite picture expensive, preferably with a mat ...
Or is there another way? It should also look good ...
OK, today I'm going to show you my personal favorite method of framing pictures. Don't worry, if you don't want to try the expensive art print directly, I understand that, try it first on an older picture or on an empty piece of paper. (at least 140g / m2)
What you need:
Poster or art print Picture
Frame
A clean cloth Possibly
pencil
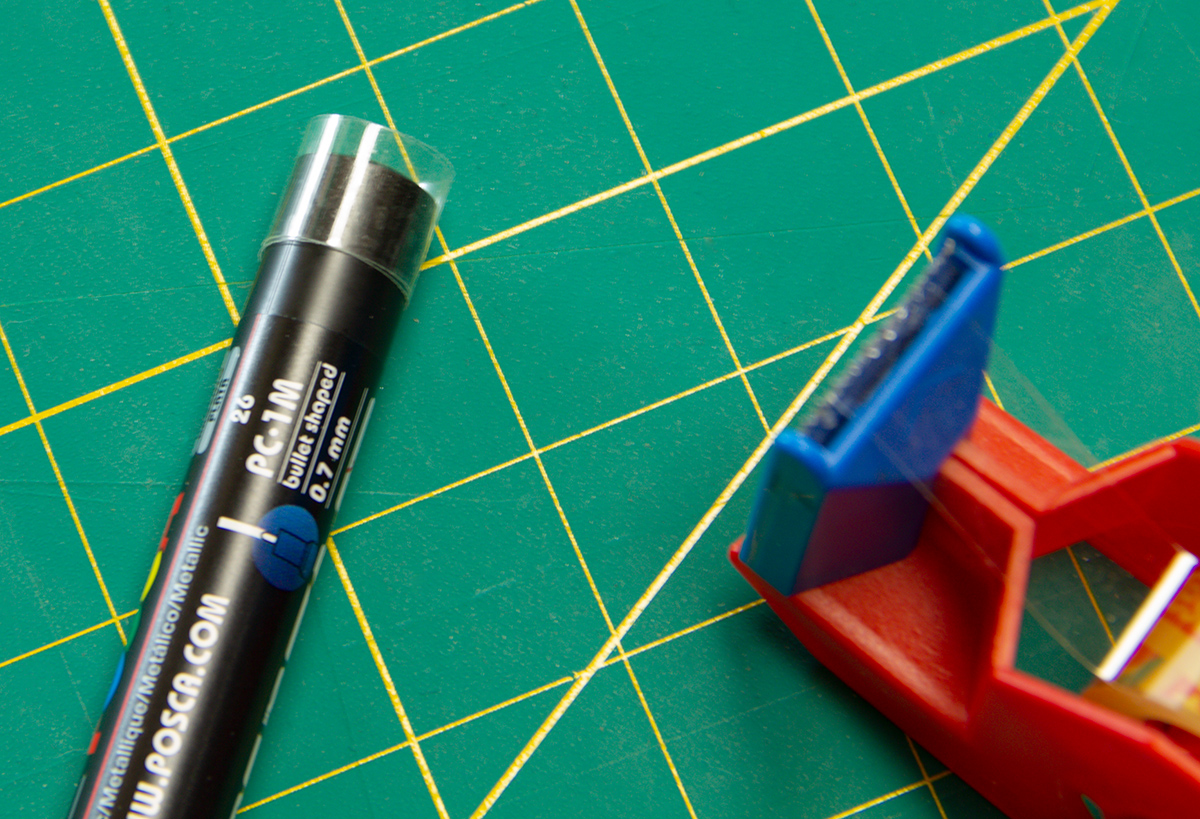
Spray adhesive or scotch tape
Photo cardboard matching the inside dimensions of the frame
Old newspapers or large pieces of cardboard as a base
Here you can see the method in a short video that I made:
In +/- 80 seconds I show how this can be done with spray adhesive (original time was a little over 2 minutes.)
Now it takes practice with the spray adhesive and most of the time it shouldn't be accurate for the first time, but if it works, the result can be seen in any case: Following are a few tips and an explanation of why this is the best method
Spray adhesive is removable, i.e. if you lay the print wrong, you can start over with a good adhesive several times. It is very important to remove it very slowly, otherwise there will be kinks.
The surface application of the spray adhesive creates a semi-permanent connection with the more stable photo cardboard and thus the properties are also transferred to the print. In plain language that means; the pressure is less likely to curl, less prone to kinking or damage, and less likely to change due to heat or moisture.
The white border works like a passe-partout from a distance, it looks nobler and draws attention to the picture. This is a budget gallery framing!
If you ever want to replace the picture again, that's not a problem; the adhesive film on the back acts as a reinforcement, even without the photo cardboard the print becomes stiffer and longer lasting.
The only thing that a passe-partout adds is a certain amount of stiffness from the front, but only to a limited extent, since the picture is always exposed. Rather, the purpose of a mat is to create a distance between the picture and the glass pane. This makes a lot of sense for originals or for prints that may be sensitive to heat such as glossy photo paper, otherwise there is a risk that the color or the coating will stick to the glass at some point.
All this can be done with a giclee print e.g. by Ars Fantasio because the matte paper does not offer any possibility of adhering to glass.
Another tip: Do not apply too much spray adhesive, one application in each direction is sufficient as you can see in the video is, otherwise the adhesive will go to the other side, we want to avoid that.
And another thing: spray adhesive contains solvents, please ventilate well and wear a mask or hold your breath while working;)
The alternative:
Adhesive film Instead of the spray glue, you simply use scotch tape or another transparent adhesive tape and wrap it around your finger or a pen and then on the back of the print. The whole at all four corners, as well as a strip for security in the middle, can not hurt. The advantages of this method are obvious:
It is cheaper (you save the € 10.00 for the spray adhesive) It doesn't take practice
You should also know the disadvantages:
The stiffness and durable aspects of the stable photo cardboard are not transferred to the print because it is not so strongly and flatly connected to it The print can also slip, depending on the quality of the adhesive tape In addition, depending on the thickness of the adhesive tape and the pressure of the frame holder, unsightly impressions can occur from behind.
Depending on the thickness of the adhesive tape, it can happen that you tear off the paper from the back
In the following, a brief comparison of costs, which can possibly help with the decision.
Cost points:
Frame 50x 70 cm € 8.00 (Ikea)
Photo cardboard 50x70 cm 1-2 € in the craft shop
Spray adhesive around 10.00 (hardware store)
€ 20.00 total Incl. Glue / material for the next 10 pictures;)
Or about € 10.00 with the Tesafilm variant
If it should last a little longer, look for picture frames in the price range from 40.00 € and with real glass. There are always offers in hardware stores, you can even get some at thrift-stores, as well as smaller general stores.
Support your local dealer, it doesn't always have to be Ikea.
Oliver aka Fantasio is a creative blogger who likes to share his insights about art, marketing and social media.
Follow Fantasio on twitter or facebook
My name is Oliver.
I paint the stuff you know, but different.
Digital art is what I live for as it allows for complex experimentation and perfect compositions.I learn mostly from the old masters and share my knowledge about digital painting, here on my blog and sometimes on Artstation or my Patreon.
In my spare time I write about art, marketing and technology on Ars Fantasio and for Altpick Connects.
I regularly create personal and new works that early adopters on my venture see first.


0 comments:
Post a Comment