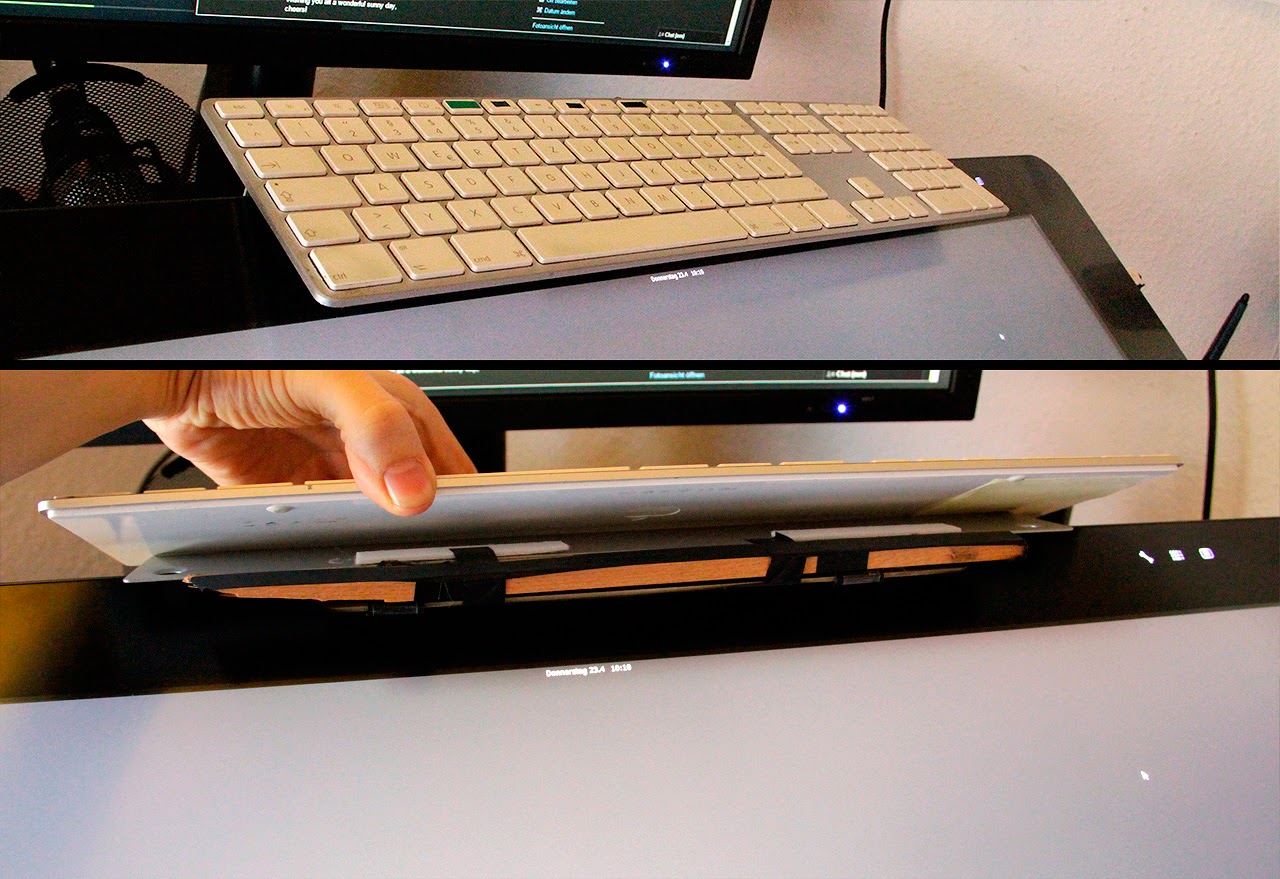
Recently I got my new drawing table(!), the Cintiq 27QHD. ((You can find a review here)
That piece took a lot space on my desk away for good.
The drawback was the placement of my keyboard. I need it often for hot keys and for writing, so hiding it under the tablet is not the best idea, especially when it uses a cable.
DIY-Approach
I came up with a DIY-solution. It worked, but - don´t ask me how...The idea of such a tray is to attach the Keyboard on top of your Cintiq.
And then there are people who have a simple solution to such a problem:
 |
| Not a futuristic sleepmask, but does help to feel good as well |
Sounds like something you can do yourself. I wondered how a little plastic thing could be any better than my self-made solution? Spoiler alert: It is better!
Professional Help
Lack of time is definitely a reason to turn towards ready made products. It broke my DIY-heart, but why bother if someone else has a better idea.A week ago, I got my package then with the Cintweak keyboard tray.
 |
| No it does not came opened, just closed it for a capture |
It came nicely packed in this box. From the measurements it could contain a rolled print - the label on top is the only thing suggesting that the content is for nerds only.
I checked the contents and really like that everything was careful packed.
 |
| Bubblepack credits: Not in the picture |
The Installation
When you go to the Gizmotweak website, there is an installation guide, it is simple but it does not hurt to read through the few sentences.Actually the installation explains itself, I put the velcro dots on the strips first and remove all protective film.
 |
| Preparing the invisible helper |
 |
| Synthetic fur protects your cintiq from scratches |
 |
| I like floating keyboards |
Testing The Gadget
After installation I tested it with various applications and now even blog writing. I have to say that this is my only keyboard, I don´t use any other. When I write, my lower arms rest on the Cintiq which is a comfortable position to write and work, even for long hours. And now after a few days of working, it is even more natural than the bent over way it was before. More ergonomy and I have less to deal with mistyping.
 |
| The back view of the newly placed tray including the keyboard |
 |
| Magnetic surfaces are good for a lot of things... |
That is how my current setup looks like. The frame of the Cintiq is used to its fullest potential and with the new Cintweak tray even more complete. The next challenge would be to find a book holder - any suggestions? ;)
Conclusion
For a price tag of $59.00 plus shipping this gadget is more expensive than most keyboards.However, this is an investment in an ergonomic workflow. If you have a Cintiq and a standing desk like me, than skipping a meal in your favorite restaurant is worth this awesome lifesaver.
Credits
A big thanks over to Gizmotweak for the nice contact and for coming up with something like this awesome product. It is really these little things that can make an artist happy.


0 comments:
Post a Comment