This article is a case study about a recent Character & Creature I had the opportunity to create, called a Menk, part of the league of elder story from Ren Garcia.
Here a short description about the Menks, find more here:
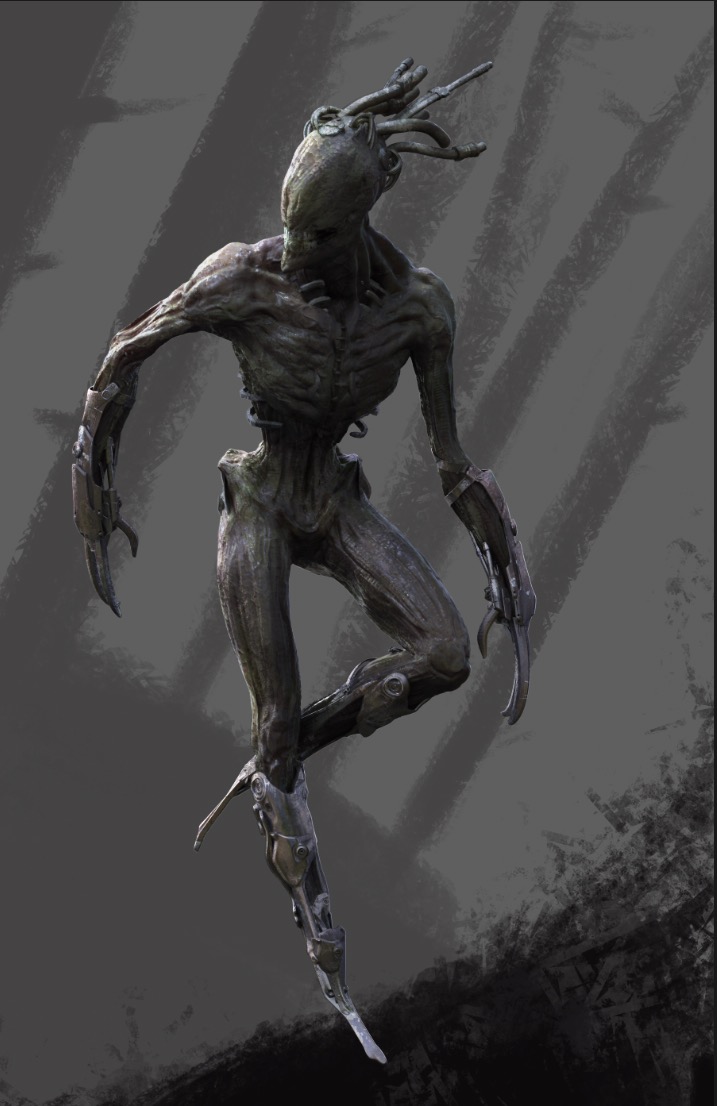
Menks are fixtures of Vith lore. From Vith Household to Household they are varied in their appearance. Menks can appear as famished, lanky humanoids possessing incredible strength and speed. They may also be part human, part animal, with animal heads, claws, wings, tails, etc. They may also be faceless, handless, and footless with metal hands and feet. Menks show little or no outward intelligence or emotion. They exist simply to stalk and kill any who fall into their gaze.
Whatever guise they take, Menks are fearsomely powerful and nearly impossible to bring down. Menks keep their vital organs in a separate place called the Blood Box–how they remain alive without their vitals is a mystery. As such, Menks are virtually indestructible. Menks have the ability to remove their heads from their bodies. The Menks in Book 11 wear silver gauntlets with sharpened claws allowing them to cling to walls. They guard the impossibly huge treasure hoards of Queen Ghome and gave the heroes in the story all they could handle and more. The have no eyes, ears or mouths--they breath through silver pipes dug into their heads.
The initial idea I had in mind was to create a dark forest scene and the first inspiration that came to mind was a mixture of Anthony Jones and Ken Barthelmey.
Here is a screenshot from my Moodboard that I used as reference for this project.

First thing after getting the inspiration for this project together, I began with a rough sketch. These four thumbnails took around 20 minutes. Mostly because the second sketch is actually where I wanted to go and I only worked further on it to get a better grasp of the concept.

Next I worked in DAZ3d Studio to use a generic male model to create a pose as depicted in the rough Photoshop draft.

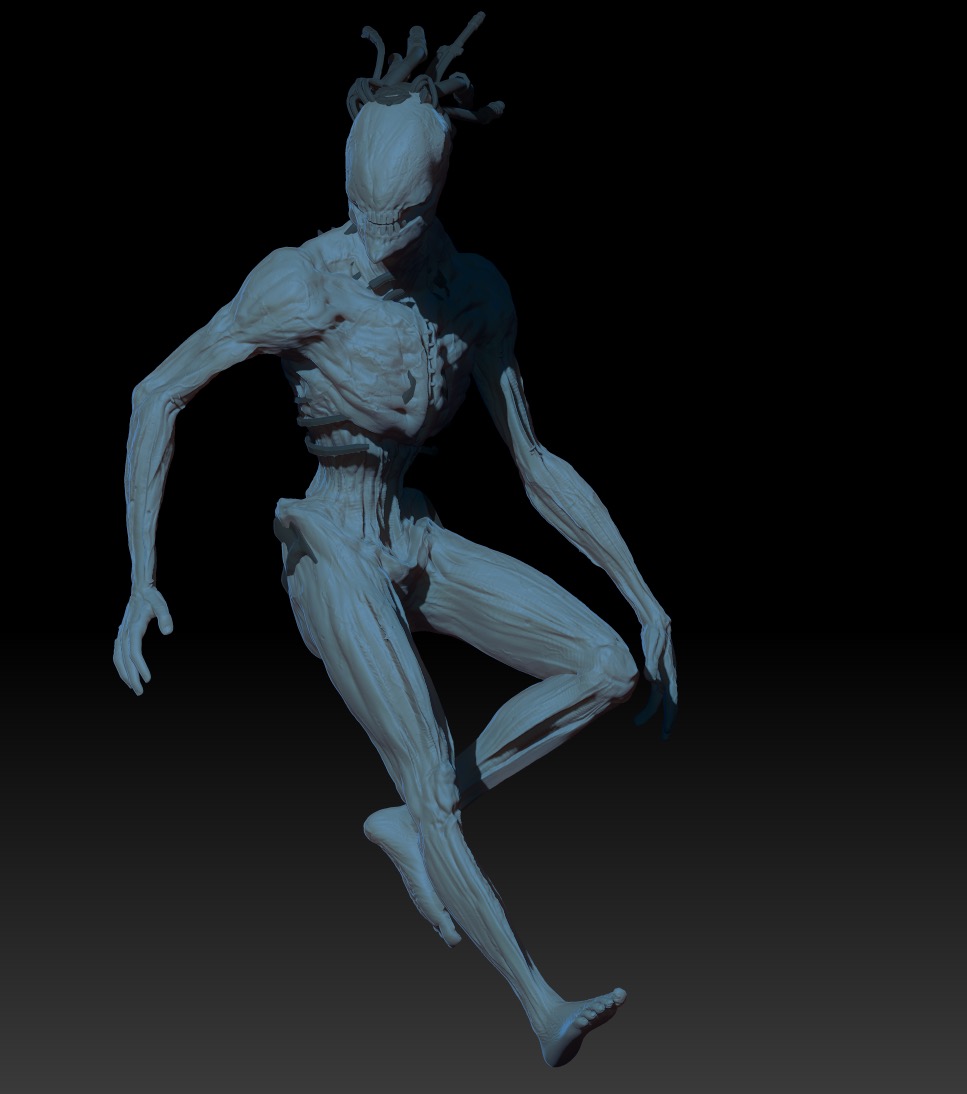
After importing the model from DAZ3D into Zbrush and getting my hands dirty for a few hours, the Menk started to look like I wanted him. Still a long way to go in terms of structure and appearance.


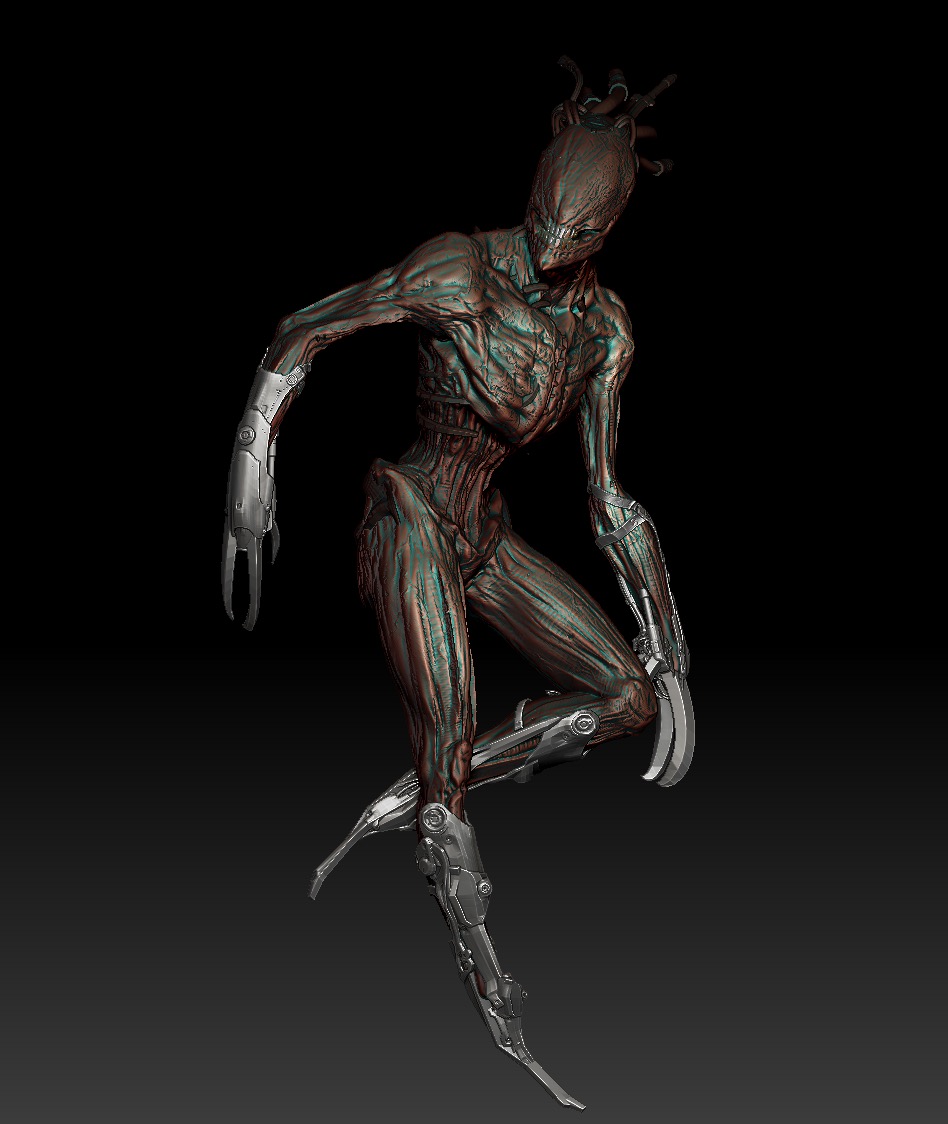
After 6 hours into the project the creature looks like the following, the Prosthetics on his limbs where done using some technical kits combined with some basic shapes to create these deadly gauntlets.

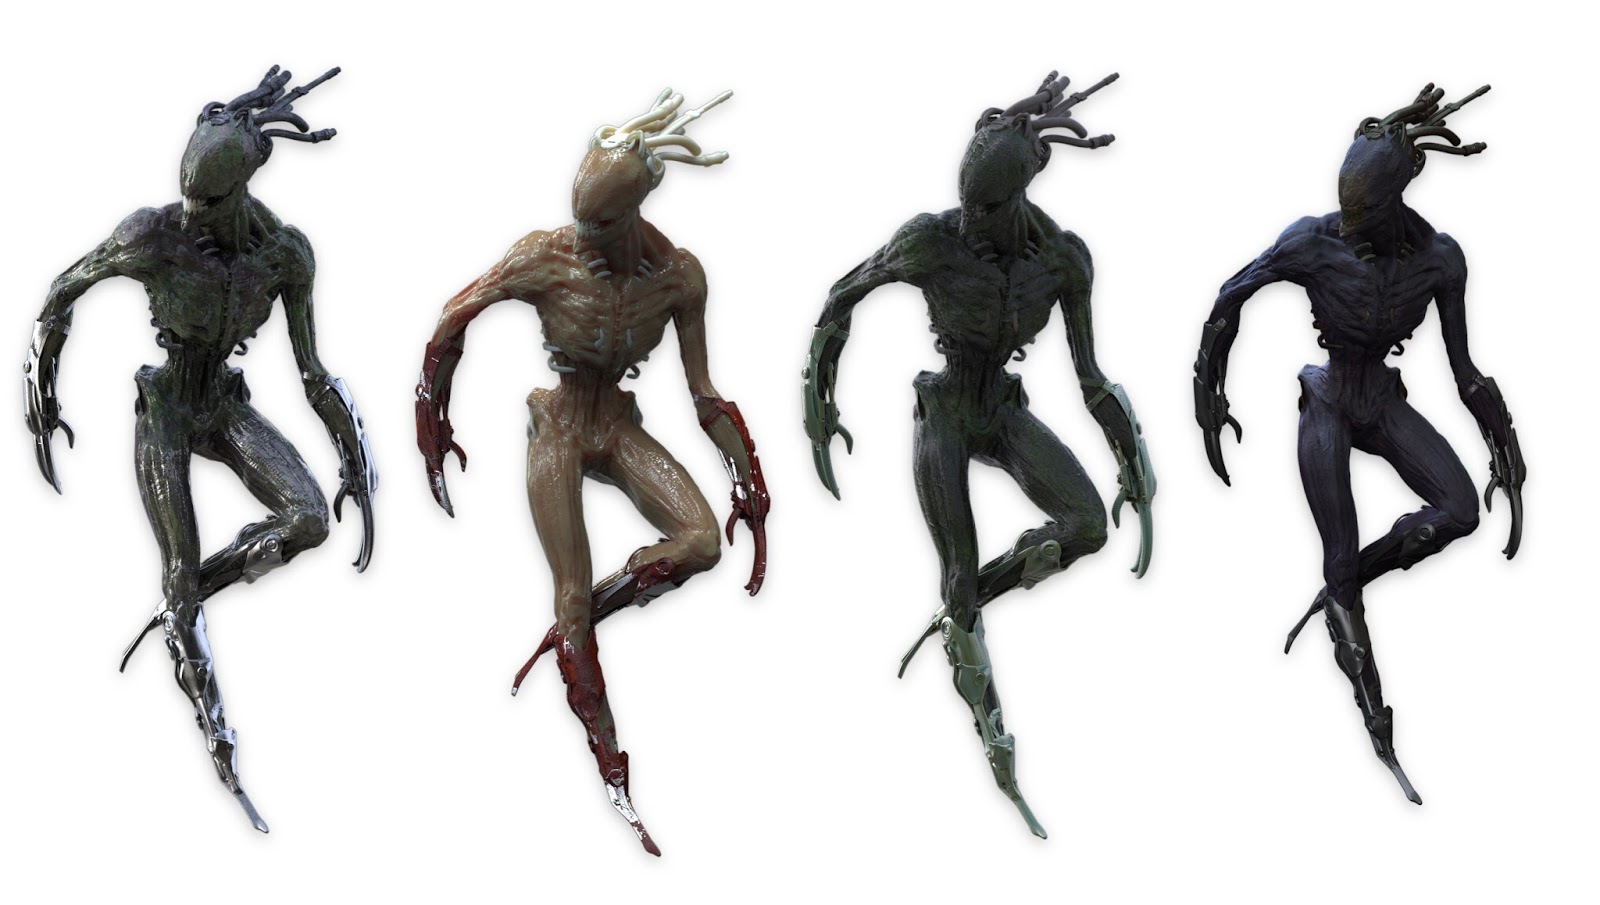
Following you can see a turntable animation showcasing the Poly-painted figure in Zbrush
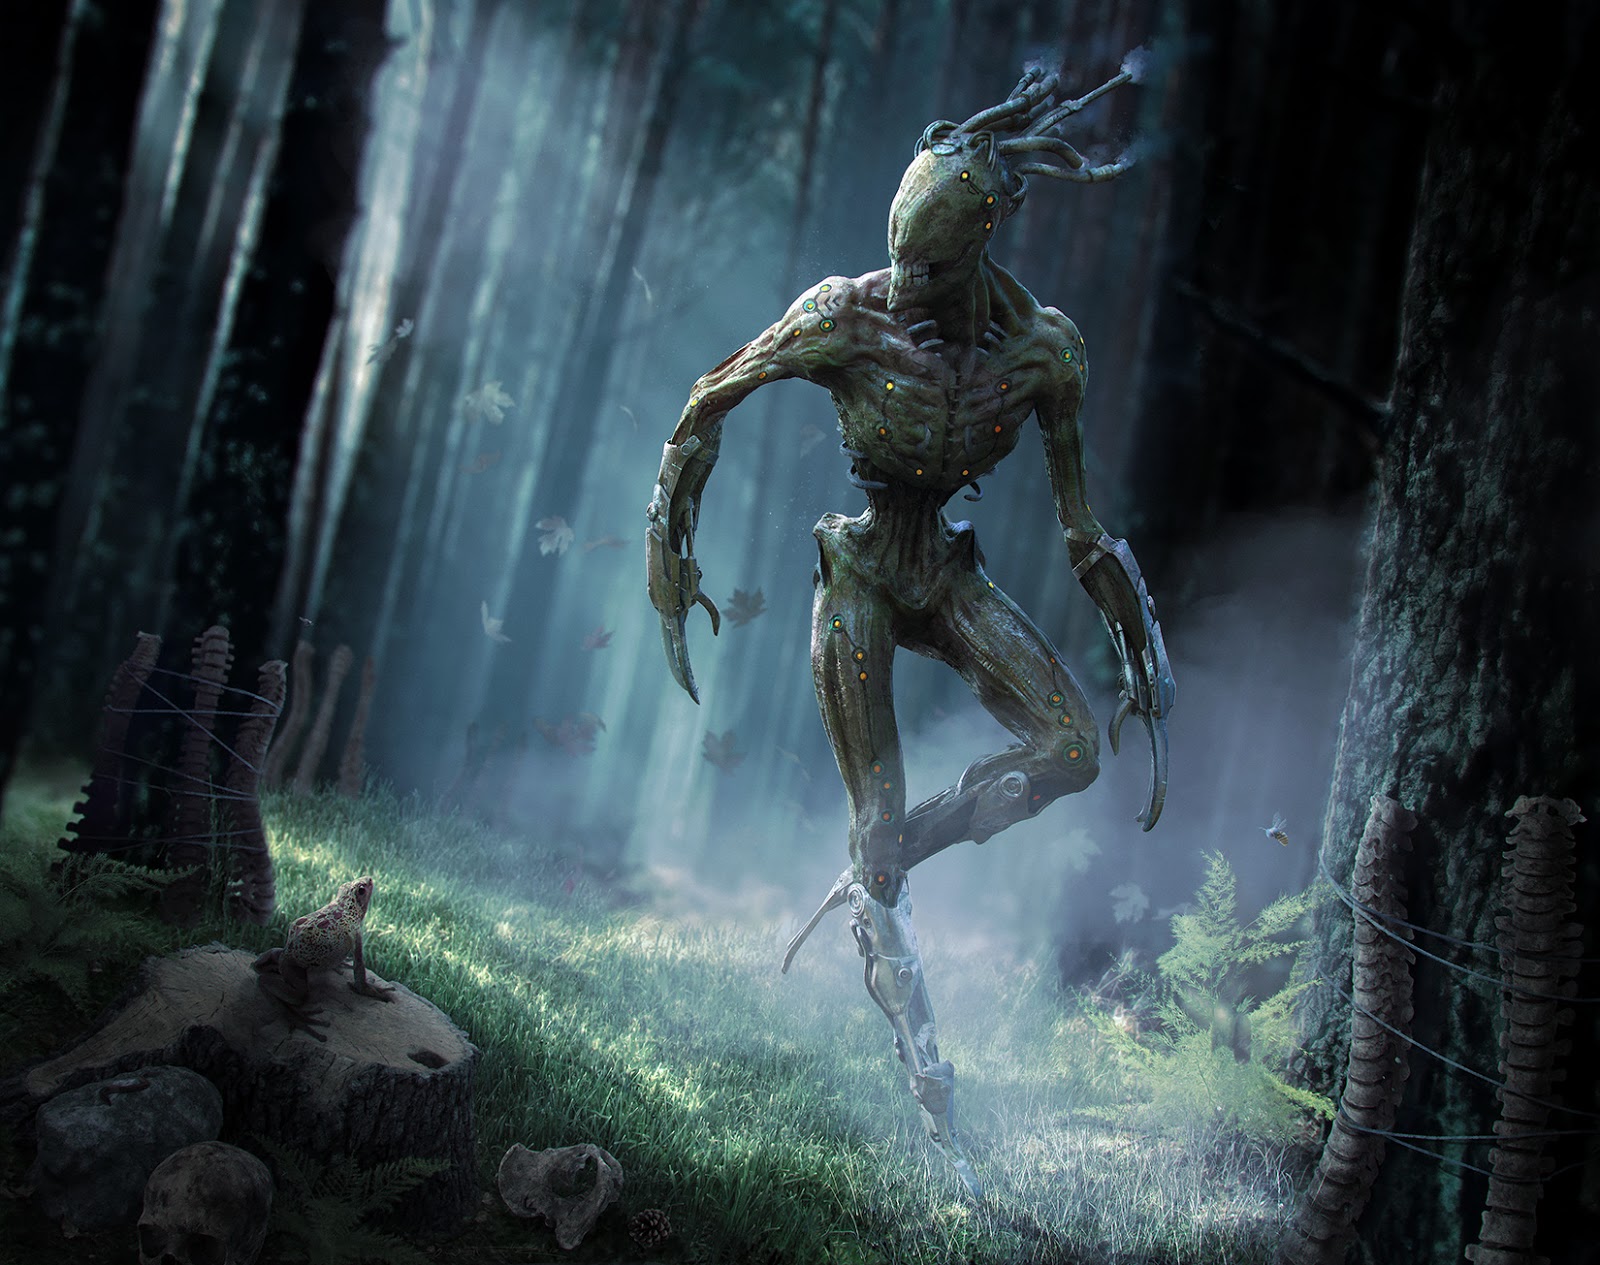
The next image shows a first roughly colored/toned version in landscape format. Initially this landscape format allowed me to put in more material that helps to build a story around the character.
The creature was meant to be very emotionless and a beast by his very nature, it was difficult to find something complementing at first. Then I thought about Hannibal - the series and thought, why not some bones? The addition of the spines, bones and little animals add contrast and they work towards the bizarre background of the creature without revealing too much.

Below is a process clip that shows the development of the background in slides. I used Pixelsquid to create the rich and realistic details on the matte / environment image.
The background image of the forest is from Pexels.
As you can see in the middle of the clip, I used a grid overlay of a root-rectangle to make sure the image uses the full dynamic potential a square can offer. There are lots of advanced composition tools to ensure the result is very compelling and I'm very glad I learned many of the mechanics from the masters. Even the frogs placement is not random, it works perfectly in relation to the creature.
I hope you enjoyed this article and got an insight in my new creation process. New because I acquired Zbrush only a few months ago and already use it as if it is part of my daily routine.
You can see the final piece in larger size by clicking on it. The size should be big enough to serve as a wallpaper.

Thanks for watching.


This is a great piece. thanks for the posting your process.
ReplyDeleteCliff Behum